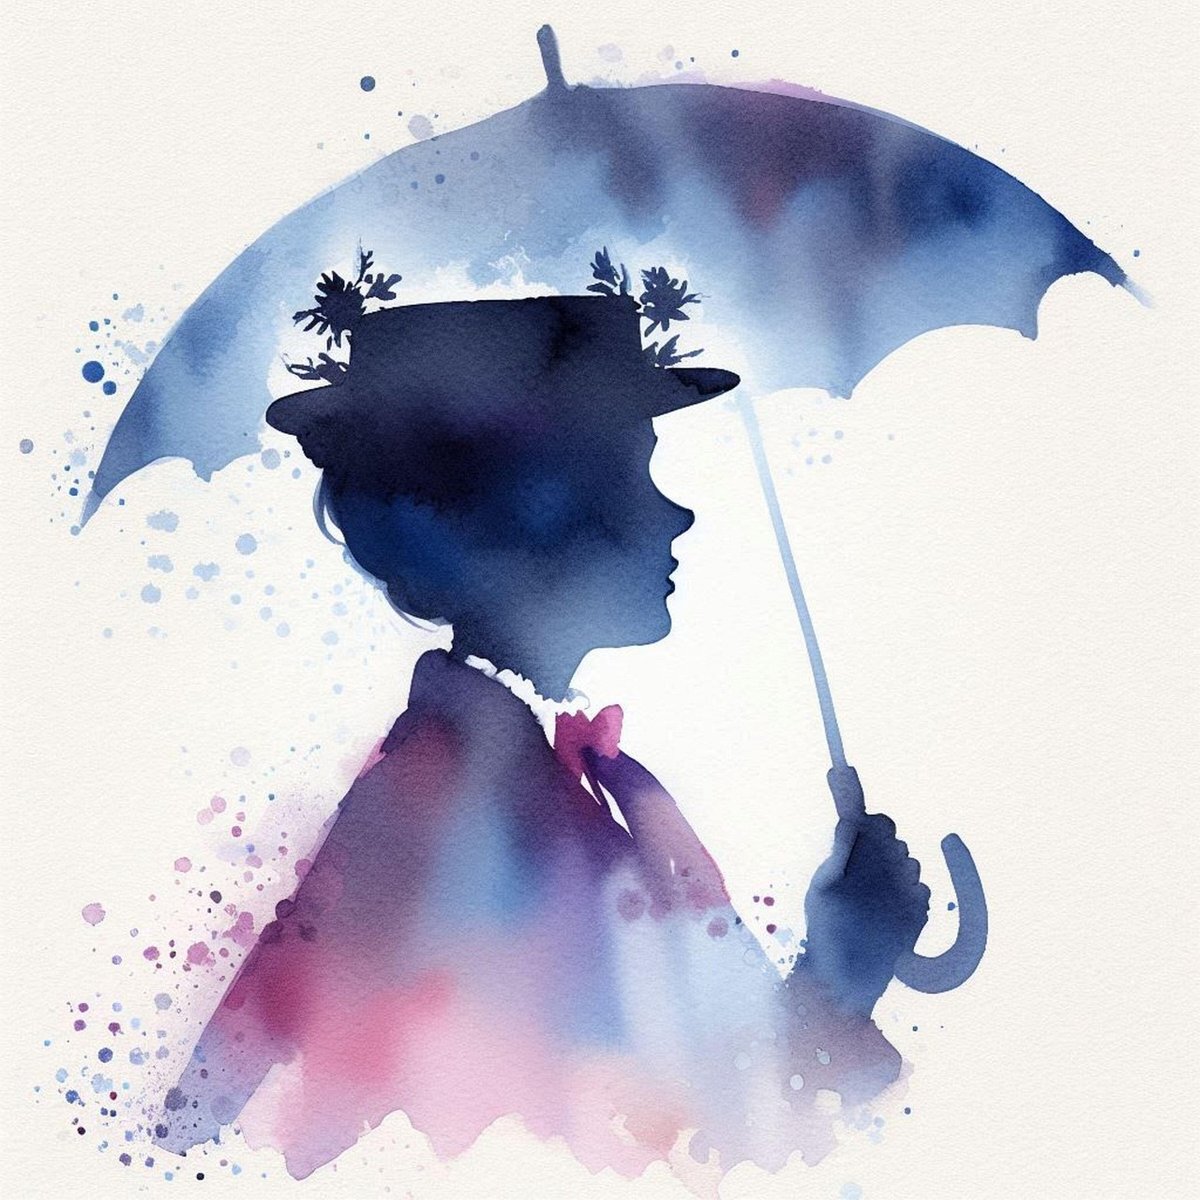
In a world of mass-produced costumes and props, there's a unique magic in crafting something by hand. If you've ever dreamt of stepping into the whimsical shoes of the practically perfect nanny, then mastering the art of DIY Mary Poppins Umbrella Crafting & Customization is your next grand adventure. It’s more than just a prop; it’s a statement, a nod to childhood wonder, and a testament to your own creative spirit. Forget store-bought imitations; we're about to show you how to create a bumbershoot that's truly "supercalifragilisticexpialidocious."
At a Glance: Your Mary Poppins Umbrella Journey
- Foundation First: Start with a sturdy, classic J-handle umbrella. Black is traditional, but don't be afraid to consider other colors for a custom twist.
- The Iconic Head: The parrot head is the star. Options include sculpting with clay, 3D printing, or finding a suitable figurine to adapt.
- Paint It Right: Use acrylic or fabric paints for durability and vibrant color on both the head and, if customizing, the canopy.
- Strong Adhesion: Epoxy or industrial-strength craft glue is essential for securely attaching the parrot head.
- Seal the Deal: Protect your artwork with a clear sealant to withstand the elements (and enthusiastic twirling!).
- Personalize It: Beyond the classic, think about unique details, ribbons, or even a subtly themed canopy design.
- Patience is Key: Crafting takes time. Allow for drying, curing, and careful detailing.
Why Craft Your Own Practically Perfect Umbrella?
The allure of Mary Poppins isn't just in her ability to fly with an umbrella; it's in her impeccable style, her no-nonsense charm, and the way she makes the extraordinary seem utterly natural. A DIY umbrella isn't merely a costume accessory; it’s an extension of that magic. It offers an unparalleled level of authenticity and personal satisfaction you simply won't get from a mass-produced item.
Whether you're preparing for a cosplay event, a themed party, a theatrical production, or simply want a charming, conversation-starting piece for your home, handcrafting your own allows for precision, durability, and a truly unique touch. Plus, the process itself is wonderfully rewarding, tapping into your inner artist and problem-solver. Before diving into the nitty-gritty, it helps to understand all about Mary Poppins umbrella and its enduring appeal as an iconic symbol.
Choosing Your Foundation: The Perfect Umbrella Base
Every great masterpiece begins with a solid foundation. For your Mary Poppins umbrella, this means selecting the right base. It’s not just any umbrella; it needs to evoke a certain classic elegance and, crucially, be able to withstand modification.
Key Considerations for Your Base Umbrella:
- The Handle: This is paramount. Mary Poppins' umbrella famously features a distinct J-hook handle.
- Traditional J-Hook: Ideal for authenticity. Look for one that feels sturdy and comfortable in your grip. You'll be modifying the very end of this handle, so consider its material (wood or plastic are common).
- Straight Handle (Less Ideal): While some umbrellas have straight handles, adapting these to house a parrot head might be more challenging and less visually accurate. Stick to the J-hook if possible.
- Size and Shape: A classic walking umbrella size is best – not too small (like a compact travel umbrella) and not excessively large. The canopy should be rounded and well-proportioned.
- Color:
- Classic Black: This is the most iconic choice, offering a stark contrast for any custom canopy details you might add.
- Other Colors: If you're going for a unique interpretation (e.g., a modern Poppins or a whimsical spin), a deep navy, forest green, or even a vibrant jewel tone could work, but be mindful of how it complements your chosen parrot head.
- Durability: Choose an umbrella that feels well-made. The frame should be robust, and the canopy material (often pongee or nylon) should be able to withstand light use and, potentially, some gentle artistic applications if you plan to paint it. Cheap, flimsy umbrellas will only lead to frustration.
Expert Tip: Thrift stores, antique shops, or discount retailers can sometimes yield excellent, sturdy J-handle umbrellas that are perfect for a DIY project. Just make sure the mechanism works smoothly before you invest your time in customizing it.
Gathering Your Magically Practical Materials
Once you have your base umbrella, it’s time to assemble your toolkit. Think of this as gathering ingredients for a very special potion – each component plays a vital role.
The Essential Shopping List:
- Your Chosen Umbrella: (As discussed above)
- Material for the Parrot Head:
- Sculpting Clay: Polymer clay (e.g., Sculpey, Fimo) or air-dry clay are excellent options. Polymer clay bakes hard and is very durable. Air-dry clay is easier for beginners but might be less robust.
- Pre-made Figurine/Toy: A small, suitable parrot figurine (often found in craft stores, pet stores, or toy shops) can be adapted. Look for one that's proportionate to your umbrella handle and has the right "attitude."
- 3D Printed Head: If you have access to a 3D printer or a printing service, this offers precision and customization. Search for "Mary Poppins parrot umbrella head STL" files online.
- Strong Adhesive:
- 2-Part Epoxy: Excellent for a very strong, permanent bond.
- Industrial-Strength Craft Glue: Brands like E6000 are good alternatives for robust adhesion.
- Hot Glue (Use with Caution): Only for very light, temporary attachments or minor detailing; not recommended for the main head attachment due to its lower strength and heat sensitivity.
- Paints:
- Acrylic Paints: Versatile for painting both the parrot head and, if desired, the umbrella canopy. Choose colors for the parrot (greens, blues, reds, black, white for eyes).
- Fabric Paints: If you plan extensive detailing on the umbrella canopy, fabric paints are designed to flex with the material and resist cracking.
- Metallic Gold/Brass Paint: For the "collar" or base of the parrot head, adding a touch of elegance.
- Brushes: A variety of small, fine-tipped brushes for detail work on the parrot head, and larger brushes if painting the canopy.
- Clear Sealant/Varnish:
- Acrylic Spray Sealer: For both the parrot head and any painted canopy details. Choose a matte or satin finish for a more realistic look, or gloss if you want extra shine.
- Waterproof Sealer: If you intend to use the umbrella in actual rain and have painted the canopy, consider a fabric-specific waterproofing spray.
- Sculpting Tools (if using clay): Basic clay tools, toothpicks, and perhaps a craft knife.
- Sandpaper (fine-grit): For smoothing your sculpted or 3D printed head.
- Protective Gear: Gloves, old newspapers/drop cloths to protect your workspace.
- Optional Embellishments: Ribbons, charms, small buttons, or other decorative elements if you're adding extra flair.
Crafting the Iconic Parrot Head: Step-by-Step
This is the heart of your DIY project – bringing the distinctive parrot head to life. This section will focus on the most common and rewarding method: sculpting your own.
Option 1: Sculpting with Clay (Recommended for Authenticity)
- Prepare the Handle: The J-hook handle of your umbrella will be where the parrot head sits. You might need to gently sand the end of the handle to create a slightly rough surface for better clay adhesion, or to reduce any existing knob for a smoother transition.
- Sketch & Plan: Before touching clay, look at reference images of Mary Poppins' umbrella head. Note the shape, beak, eyes, and the elegant curve of the neck.
- Start with a Core: Begin by shaping a basic oval or tear-drop form that will be the main body of the parrot's head. You can either sculpt it directly onto the end of the umbrella handle (if the handle can withstand oven heat for polymer clay, or if using air-dry clay) or sculpt it separately with a small hole or indentation to fit onto the handle later. Sculpting separately often gives more freedom for detail.
- Define Features:
- Beak: Add a separate piece of clay, shaping it into the curved, slightly open beak.
- Eyes: Create small, raised areas for the eyes. You can indent them slightly to prepare for painting.
- Feather Texture (Optional): Use a sharp tool or toothpick to gently etch in subtle feather lines, particularly around the neck.
- Smooth and Refine: Use your fingers and sculpting tools to smooth out any rough edges. Dip your finger in a tiny bit of water (for air-dry clay) or use a soft brush (for polymer clay) to create a seamless surface.
- Baking/Drying:
- Polymer Clay: Carefully remove the head from the handle (if sculpted separately) and bake according to the clay manufacturer's instructions. Allow it to cool completely.
- Air-Dry Clay: Let it air dry for 24-72 hours, depending on thickness, until completely hardened.
- Sanding (Optional): Once dry/baked, you can gently sand any imperfections with fine-grit sandpaper.
Option 2: Adapting a Pre-made Figurine
- Select Your Figurine: Find a parrot figurine that has the right profile and scale. It doesn't need to be identical, but should be a good starting point.
- Modify as Needed: You might need to remove existing bases, sand down details, or even fill gaps with a bit of clay or epoxy putty to achieve the desired shape.
- Create a Mounting Point: If the figurine doesn't have a natural way to attach to the umbrella handle, you'll need to create one. This could involve drilling a small hole into the figurine's base and the umbrella handle, then inserting a small dowel for strength, or simply relying on a strong adhesive if the contact surface is large enough.
Option 3: 3D Printing
- Find or Design an STL File: Search for existing Mary Poppins parrot umbrella head files online, or if you're proficient in 3D modeling, design your own.
- Print: Print the head using your preferred filament (PLA is common and easy to work with).
- Post-Processing: Depending on the print quality, you might need to sand, fill, and prime the print to get a smooth, paintable surface.
Painting Your Parrot Head: Bringing it to Life
Once your head is dry, baked, or prepped, it's time for color.
- Base Coat: Apply a base coat of a medium green (or your chosen primary parrot color) over the entire head. Let it dry completely.
- Details:
- Beak: Paint the beak black or a dark gray.
- Eyes: Use white for the eye base, then add a black pupil. A tiny dot of white in the pupil can add a spark of life.
- Feathering: Use darker and lighter shades of green to add depth and subtle feather details. A very thin dark line can define the beak and eye sockets.
- Cheeks/Forehead: Some versions of the parrot have subtle red or blue accents on the cheeks or forehead. Refer to your chosen reference image.
- The Collar: This is a crucial detail. Paint the base of the parrot head, where it will meet the umbrella handle, with metallic gold or brass paint. This gives it a polished, antique look, as seen on the original prop.
- Drying: Allow all paint layers to dry thoroughly between coats.
- Sealing: Once all paint is completely dry (at least 24 hours), apply 2-3 thin coats of your clear acrylic sealant. This protects the paint from chipping, moisture, and wear. Allow each coat to dry according to manufacturer instructions.
Transforming the Canopy: Color & Design
While the classic Mary Poppins umbrella is a plain black, this is where you can truly infuse your own creative spirit. You might want to keep it traditional or add subtle personal touches.
Classic Black vs. Creative Twists:
- Traditional Approach: If your umbrella is already black, you're set. No need for canopy painting unless you want very subtle, almost invisible details.
- Subtle Details: Consider stenciling a very faint, almost ghostly, pattern on the black canopy – perhaps a silhouette of rooftops, stars, or even a tiny chimney sweep. Use black fabric paint that's slightly glossy or matte for a subtle contrast.
- Themed Canopy: For a truly customized umbrella, you could choose a different base color or paint a design. Imagine a deep navy canopy with silver stars, or a dark red with gold accents. If you decide to paint the entire canopy a new color, be prepared for a significant undertaking. Fabric dyes are often more effective for full color changes than painting large areas.
Tips for Canopy Painting (if you dare!):
- Lay Flat: Open the umbrella and lay it flat on a protected surface. You might need to prop it up to ensure the canopy is taut.
- Fabric Paint is Best: If you're painting patterns or designs, use fabric paints. They are designed to be flexible and won't crack or peel when the umbrella is opened and closed.
- Light Coats: Apply paint in thin, even coats to avoid stiffness or bleeding.
- Stencils: Use stencils for crisp, repeatable patterns. Secure them with painter's tape to prevent slippage.
- Allow to Dry: Fabric paints often require longer drying and sometimes heat-setting (check paint instructions) to become permanent.
- Waterproofing: If you've painted the canopy and intend to use the umbrella in rain, consider applying a fabric waterproofing spray specifically designed for outdoor gear after all paint and sealants have cured. Test on an inconspicuous area first.
Assembling Your Practically Perfect Umbrella
Now for the moment of truth: uniting the magnificent parrot head with its trusty handle. This requires a strong, permanent bond.
- Prepare the Handle End: If you haven't already, ensure the very end of your J-hook handle is clean, dry, and slightly roughened with sandpaper. This helps the adhesive grip better.
- Test Fit: Carefully place your finished parrot head onto the handle. Ensure it sits flush and is oriented correctly. Mark any spots that might need slight adjustments.
- Apply Adhesive:
- Epoxy: Mix the two parts of the epoxy according to the manufacturer's instructions. Apply a generous amount to both the end of the umbrella handle and the corresponding recess/surface on the parrot head.
- Industrial Glue: Apply a bead of glue to both surfaces.
- Attach the Head: Carefully press the parrot head onto the umbrella handle, ensuring it's straight and firmly seated.
- Secure and Cure:
- Hold Firmly: Hold the head in place for a few minutes until the adhesive starts to set.
- Support: If possible, use painter's tape or clamps to gently hold the head in position while the adhesive cures. You might need to prop the umbrella up so the head remains undisturbed.
- Curing Time: Allow the adhesive to cure for the full recommended time (often 24-72 hours) before handling the umbrella extensively. Do not rush this step, as a weak bond will lead to a wobbly or detached head.
Reinforcing the Attachment (Optional but Recommended):
For extra security, especially if your umbrella will see a lot of use, you can add a subtle reinforcement:
- Epoxy Seam: Once the initial bond has set, you can apply a very thin bead of epoxy around the seam where the parrot head meets the umbrella handle. Smooth it with a wet finger or tool.
- Small Pin/Screw: For maximum strength, if your umbrella handle and parrot head material allow, you could drill a tiny pilot hole through the bottom of the parrot head into the umbrella handle, and insert a small, thin screw or nail (trimming off the head if needed). This provides a mechanical anchor in addition to the adhesive. Only do this if you are confident in your drilling skills and the materials can handle it without splitting.
Advanced Customizations & Personal Touches
Your umbrella is functional, but how can you make it truly yours? This is where customization shines.
Adding Ribbons or Charms:
- Handle Ribbon: Tie a decorative ribbon around the J-hook handle, perhaps in a classic Poppins red or a color that complements your parrot. A simple bow can add a touch of elegance.
- Charms: Attach small charms (e.g., a tiny teapot, a silhouette of a robin, a carpet bag, or an initial) to the handle with a small loop or a thin chain. These subtle details speak volumes.
- Fabric Embellishments: If you're ambitious, you could stitch small fabric appliqué details onto the canopy, such as delicate lace trim along the edge or small fabric flowers.
Weatherproofing Your Masterpiece:
If you intend to use your DIY umbrella for its original purpose (protection from rain!), ensure your customizations are weatherproof.
- Exterior Sealant: Beyond sealing the paint on the parrot head, consider a clear, outdoor-grade sealant for any painted canopy details.
- Fabric Protector: Products like Scotchgard Fabric Protector can add an extra layer of water repellency to the canopy, but always test on a small, inconspicuous area first to ensure it doesn't stain or alter the fabric color.
Themed Variants and Creative Interpretations:
Don't feel confined to the exact movie prop. What if Mary Poppins lived in a different era, or had a slightly different aesthetic?
- Victorian Poppins: Darker colors, richer textures, perhaps a velvet ribbon.
- Modern Poppins: Sleeker lines, a more minimalist parrot head, unexpected canopy colors.
- Steampunk Poppins: Gear details, metallic accents, maybe a clockwork-inspired parrot.
Let your imagination soar – after all, a good imagination is where true magic begins!
Troubleshooting Common DIY Hurdles
Even the most practically perfect crafter can encounter a few bumps along the way. Here are solutions to common problems:
- Paint Peeling/Chipping on Parrot Head:
- Cause: Insufficient surface prep (not cleaning/sanding) or not using a primer. Not enough sealant, or sealant applied too thinly.
- Solution: Ensure surfaces are clean and slightly abraded before painting. Apply 2-3 thin coats of clear acrylic spray sealant, allowing each to dry fully. For severe peeling, you might need to sand down, re-paint, and re-seal.
- Parrot Head Not Sticking Securely:
- Cause: Weak adhesive, insufficient curing time, or improper surface prep.
- Solution: Always use a strong, industrial-grade adhesive like 2-part epoxy. Clean and lightly sand both attachment surfaces. Allow the full curing time recommended by the adhesive manufacturer, keeping the head undisturbed. For a wobbly head, you might need to remove it, clean off old adhesive, and re-glue, or consider adding a mechanical reinforcement (like a small screw) if possible.
- Wobbly Handle (if you removed part of the original handle):
- Cause: The original handle was modified too much, or the new components aren't snug.
- Solution: If you cut off part of the original handle, ensure the new parrot head attachment point is robust. If the wobble is in the umbrella's internal mechanism, that's harder to fix; it might indicate a flimsy base umbrella. For minor wobbles at the head, additional epoxy or a thin shim can sometimes stabilize it.
- Canopy Paint Cracking/Stiffening:
- Cause: Using non-fabric specific paint, or applying paint too thickly.
- Solution: Always use fabric paints for canopy details. Apply paint in very thin, even coats. Allow sufficient drying and heat-setting (if required by the paint) before folding the umbrella.
Caring for Your Bespoke Bumbershoot
You've poured your heart into creating a magnificent piece. Here's how to ensure it remains practically perfect for a long time:
- Gentle Handling: While your umbrella is sturdy, avoid excessively rough handling or using it as a leaning prop that puts stress on the parrot head.
- Clean with Care: If the canopy gets dirty, gently wipe it with a damp cloth and mild soap. Avoid harsh chemicals that could strip paint or sealant.
- Storage: Store your umbrella closed and in an upright position. Keep it out of direct prolonged sunlight to prevent fading of paints and materials. If you used it in the rain, allow it to air dry completely before closing and storing to prevent mildew.
- Touch-Ups: Over time, minor wear and tear might occur. Keep a small amount of your original paints and sealant handy for quick touch-ups.
Ready for Your Next Adventure?
Congratulations! You've successfully navigated the wonderful world of DIY Mary Poppins Umbrella Crafting & Customization. You now possess not just an umbrella, but a symbol of magic, resilience, and your own creative ingenuity.
Every time you open it, every time you twirl it, you'll be reminded of the joy of creation and the enduring charm of a certain magical nanny. So go ahead, step out, and let your practically perfect umbrella take you to new heights. Just remember, a spoonful of sugar helps the medicine go down, but a well-crafted umbrella helps you take flight!